Are you excited to customize your favorite products? Of course, you are! No matter how good a product is in its quality, it becomes more special only when it has your favorite designs. And you know what’s even better? If you can ensure those designs last for a long, long time. This is one of the reasons that sublimation printing is one of the best options for you to fulfill your customization desires.

But there’s a catch. Sublimation printing does not cover every product. In fact, only specific products can be used for this process. These products need to be 100% polyester; otherwise, the sublimation printing will not work on these products. But don’t you worry, there’s another way you can customize your favorite products using sublimation printing as well.
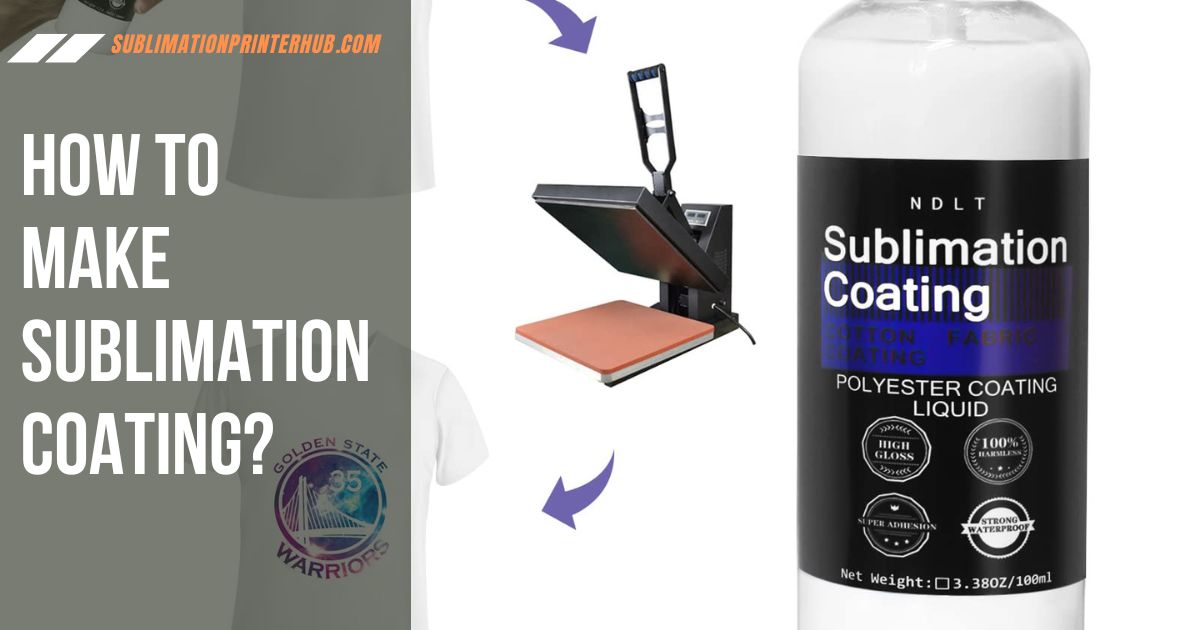
This is the process of coating your regular ceramics or cotton shirts or even mobile cases with a polyester coating beforehand. This means that now you can even customize your favorite products without having to make sure these are polymer-treated. To help give you complete instructions, here is the step-by-step guide to explain how you can coat your products with the polymer coating before you can print on them.
How To Make Sublimation Coating At Home
Before we dive into the exact process, you need to look at some of the things you will require. This can mostly depend on the product that you want to print. Other than that, it can also depend on various factors like your choice of dyes, or the budget you have, etc. Hence to make it convenient for you, we list the things needed for printing on multiple materials liked clothes, mugs, mobile covers, woods, metals, and many more.
Things You Need
For Fabric
- Cotton fabric (shirt etc.)
- Fabric sublimation coating
- spray bottle
For Ceramics
- Sublimation liquid for ceramics
- Brush
- Glass/ mug/ tumbler
Method
(For Fabric)
Step 1
First and foremost, take the fabric that you want to print your design onto and lay it out flat on the surface in front of you. Now make sure that you place a piece of paper directly below the portion of the fabric you want to print. In case of a shirt or a trouser, you should place it in between the two sides of the article. This is to prevent spillage of sublimation coating onto the other side in the case of clothing items.
Step 2
Once you prepare the exact portion that you are planning to coat, select fabric sublimation coating liquid. I prefer using a spray bottle as this helps spread the coating solution on the fabric and prevent accumulation at one specific point. Now start spraying the fabric to get a good amount covering the material and ensure even coating all over.
Step 3
Now what you do is let this liquid dry. This drying duration can vary depending on the amount of product you apply or the kind of material you use. Either way, once you are sure the coating is dry, you can now move forward with the printing process. This includes placing the design directly onto the coated area and pressing it with the heat press. Once the design has been transferred, remove the heat press, and you have a designed fabric that will hopefully last you a long time.
(For Ceramics)
Step 1
This kind of printing does not take place directly as we did for the fabric. In fact, this sublimation coating you will have to make yourself. To start, you need to take a syringe and measure exactly 10 mL of the sublimation coating liquid from the bottle. Now put this in a small mixing bowl and keep it aside.
Step 2
You will see that the package comes with another solution along with the coating. From this little bottle, measure 0.5 ml of the liquid with the help of a syringe. Now add this to the sublimation coating liquid in the mixing bowl. Keep mixing now to make sure the mixture is well distributed. Use a wooden or plastic spoon to mix the solution, and avoid using your fingers.
There are some things you must take care of during this process. Firstly make sure you are wearing gloves to prevent direct contact of chemicals with your skin. Secondly, the smell from this picture can be quite strong, so you might want to work in a well-ventilated environment to prevent getting sick.
Step 3
Now once you have a well-mixed solution, it’s ready for you to apply it to the desired product. For this, you require a brush. Make sure to place a piece of paper or rough cloth on your workstation before starting your job because this can get messy. Now while you still have your gloves on, pick up the mug or cup and start painting the sublimation solution onto it. Make sure you coat the mug evenly without leaving any patches.
There are some things you need to be careful about during the process. First of all, make sure that you clean the mug before you start coating this. This ensures a more clean and nice finish. In this way, the solution is easier to apply as well. Secondly, you need to consider that the mug is something you drink from, and your mouth will have direct contact with this product. Hence you need to make sure the chemicals do not impact the person drinking from the mug. For this purpose, make sure to start coating about two inches below the sipping area.
Step 4
When the mug is fully coated, now comes the drying process. It would be best if you gave the mug maximum time to allow it to dry. Unless the mug dries up, no printing procedure can be done on this. In fact, even the sublimation process is not complete yet, which takes us to the next step of the sublimation coating process, which is the re-application of the coating. You can coat up to three times to ensure the application.
Step 5
Once the mug is coated well, place it into the oven. Bake the mug or the glass at the temperature written in the instructions for the specified time duration. This will help ensure the coating is fully permanent. Once the process of curing the mug is complete, a glossy shine appears on the mug. Now the mug is ready to be printed with the design. Place your print design onto the mug and use the heat press to transfer your design onto the coated mug easily.
Possible Problems
When following these instructions, you need to make sure you carefully work on each step. Any problem in either one can cause several problems. Ultimately we observe that a defect that occurs due to negligence in either one of the steps reflects a defect in the outcome. Some of the common issues that you may face during coating are as follows.
Yellowing
Using the wrong sublimation coating can cause your fabric to get yellow stains. The same is the case for ceramics. If you choose low-quality sublimation solutions, you will notice yellowing if heated with the heat press. Therefore, always opt for high-quality coating solutions if you aim to get high-quality results from your sublimation printing.
Strokes In Texture
Another problem that can arise is the presence of lines and wrinkles in the texture of the sublimation coating. This usually occurs when you are using the brush to do the coating. The bristles of the brush can create multiple lines in the coating leading to an uneven overall covering. As a result, when the design is printed onto this coating, it will also appear textured. As a result, you will not get a clear and smooth design which is the desired result in the end.
FAQs
What is sublimation coating made out of?
The sublimation coating is manufactured using a combination of ingredients. The main components from the list include resin, various solvents, and a dye that volatilizes when one applies heat.
What coating is needed for sublimation?
One of the most well-known brands for the DIY sublimation coating process is the Subli Glaze™. It allows you to print various designs on several materials while protecting them from UV radiations as well.
What can you spray on cotton for sublimation?
Poly-T Plus is one of the famous brands that comes in spray bottle form. These spray sublimation coatings allow you to coat any cotton shirt for sublimation printing in the future.
Still, confused? learn how to do sublimation printing from our printing experts.
Final Thoughts
So at the end of the day, if you ask me if the DIY Coating process is better than the pre-coated products, I’d still recommend using the pre-coated products. Although the instruction helps you create a sufficient coating to some extent, it’s not the same. There is a large room for error during this process, making it very difficult for most people to get their desired results from the best sublimation printer.
So basically, if you can find a pre-polymer-coated shirt or a pre-polymer-coated mug in the market, then it should definitely be your first pick. However, if you cannot find one for any reason, this DIY step-by-step method is definitely worth a try. So what are you waiting for? Go and get hold of all the products right now and try your luck at becoming a pro at customizing your favorite products in no time!


